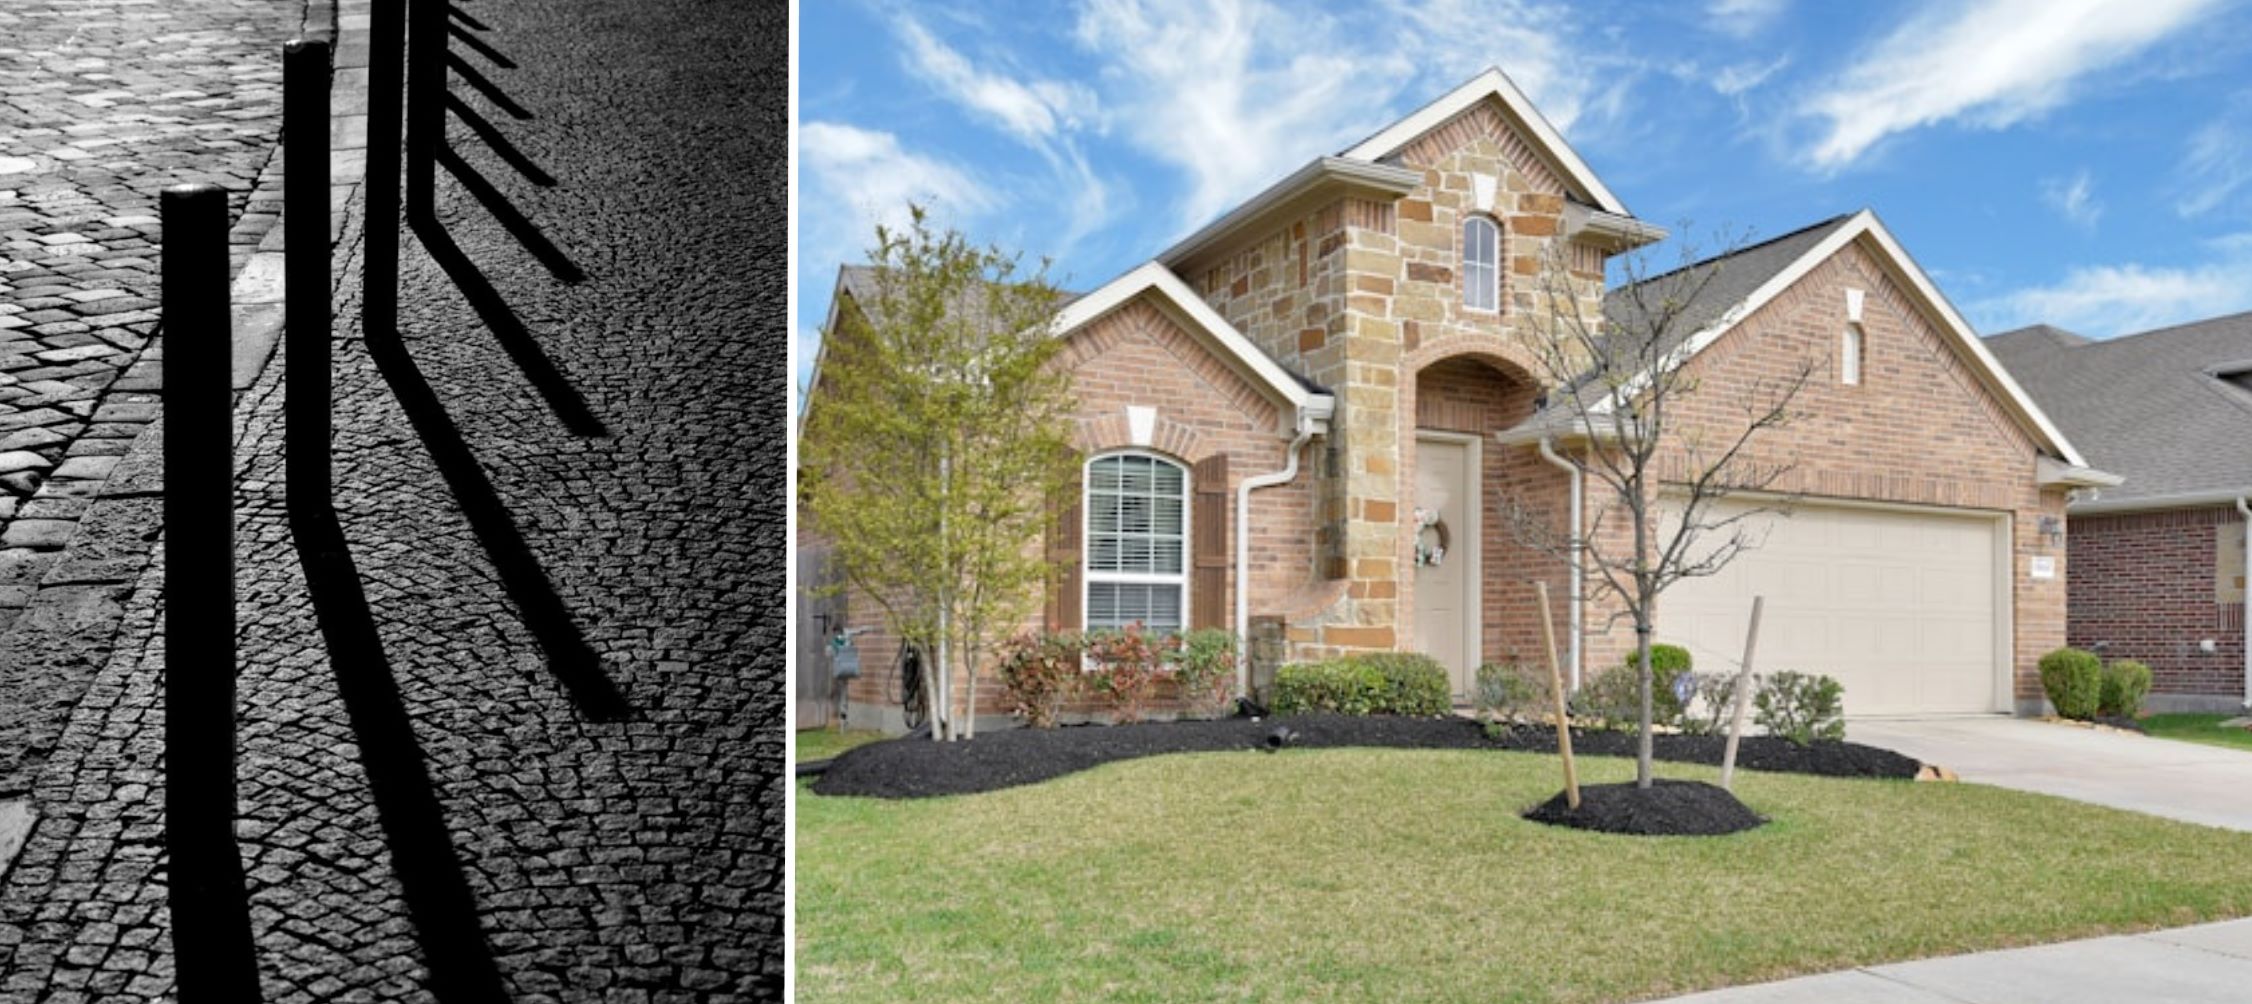
The advancement of security techniques has evolved the features of a simple home. Today, homes not only represent comfort and warmth but also an element of protection. One such security measure is the installation of driveway bollards. Despite being prevalently utilized in traffic management, bollards have found their use in residential areas serving as an efficient security measure.
Most people shy away from the idea of installing bollards due to the perceived complexity of the process. However, with the correct guidance, anyone can install a driveway bollard. This guide will take you through a simple, step-by-step process on how to install driveway bollards.
Materials You’ll Need
- Bollard
- Concrete mix
- Shovel
- Ruler
- Level

Installation Steps
- Identify the best location: The first step in installing a bollard is deciding where it would be most effective. It should be somewhere that does not block your driveway but still presents an obstacle for unwanted visitors.
- Dig a hole: Once the location is identified, dig a hole that is three times wider than the bollard’s diameter and deep enough to ensure the bollard’s stability.
- Prepare the concrete mix: Mix the concrete as per instructions on the package. It should be a consistency that is easy to pour but not too liquid.
- Insert the bollard: Place your bollard in the dug hole and make sure it is centered.
- Pour the concrete mix: Pour the concrete mix into the hole until it covers about two-thirds of the bollard’s length. Make sure the concrete is spread evenly around the bollard.
- Ensure evenness: Use the level to ensure the bollard is straight and let the concrete cure for a few days before its use.
Incorporating bollards in your security measures helps add a level of protection to your home. Not only do they act as a barrier to vehicle theft, but they can also guide traffic and maintain order in your driveway. With this guide, the installation of a driveway bollard is a task that can be accomplished easily at home.


